Western Blot Figure Preparation and Layout
Arrange treatment conditions, protein names and molecular weights. Format the labels and underline lanes sharing a treatment to build a clear figure.
Practice with built-in examples without signing in. Register for free figure tools and an eligible full-feature trial of up to one month, subject to account and device history. After online verification, use your authorized features offline on this computer for 30 days.
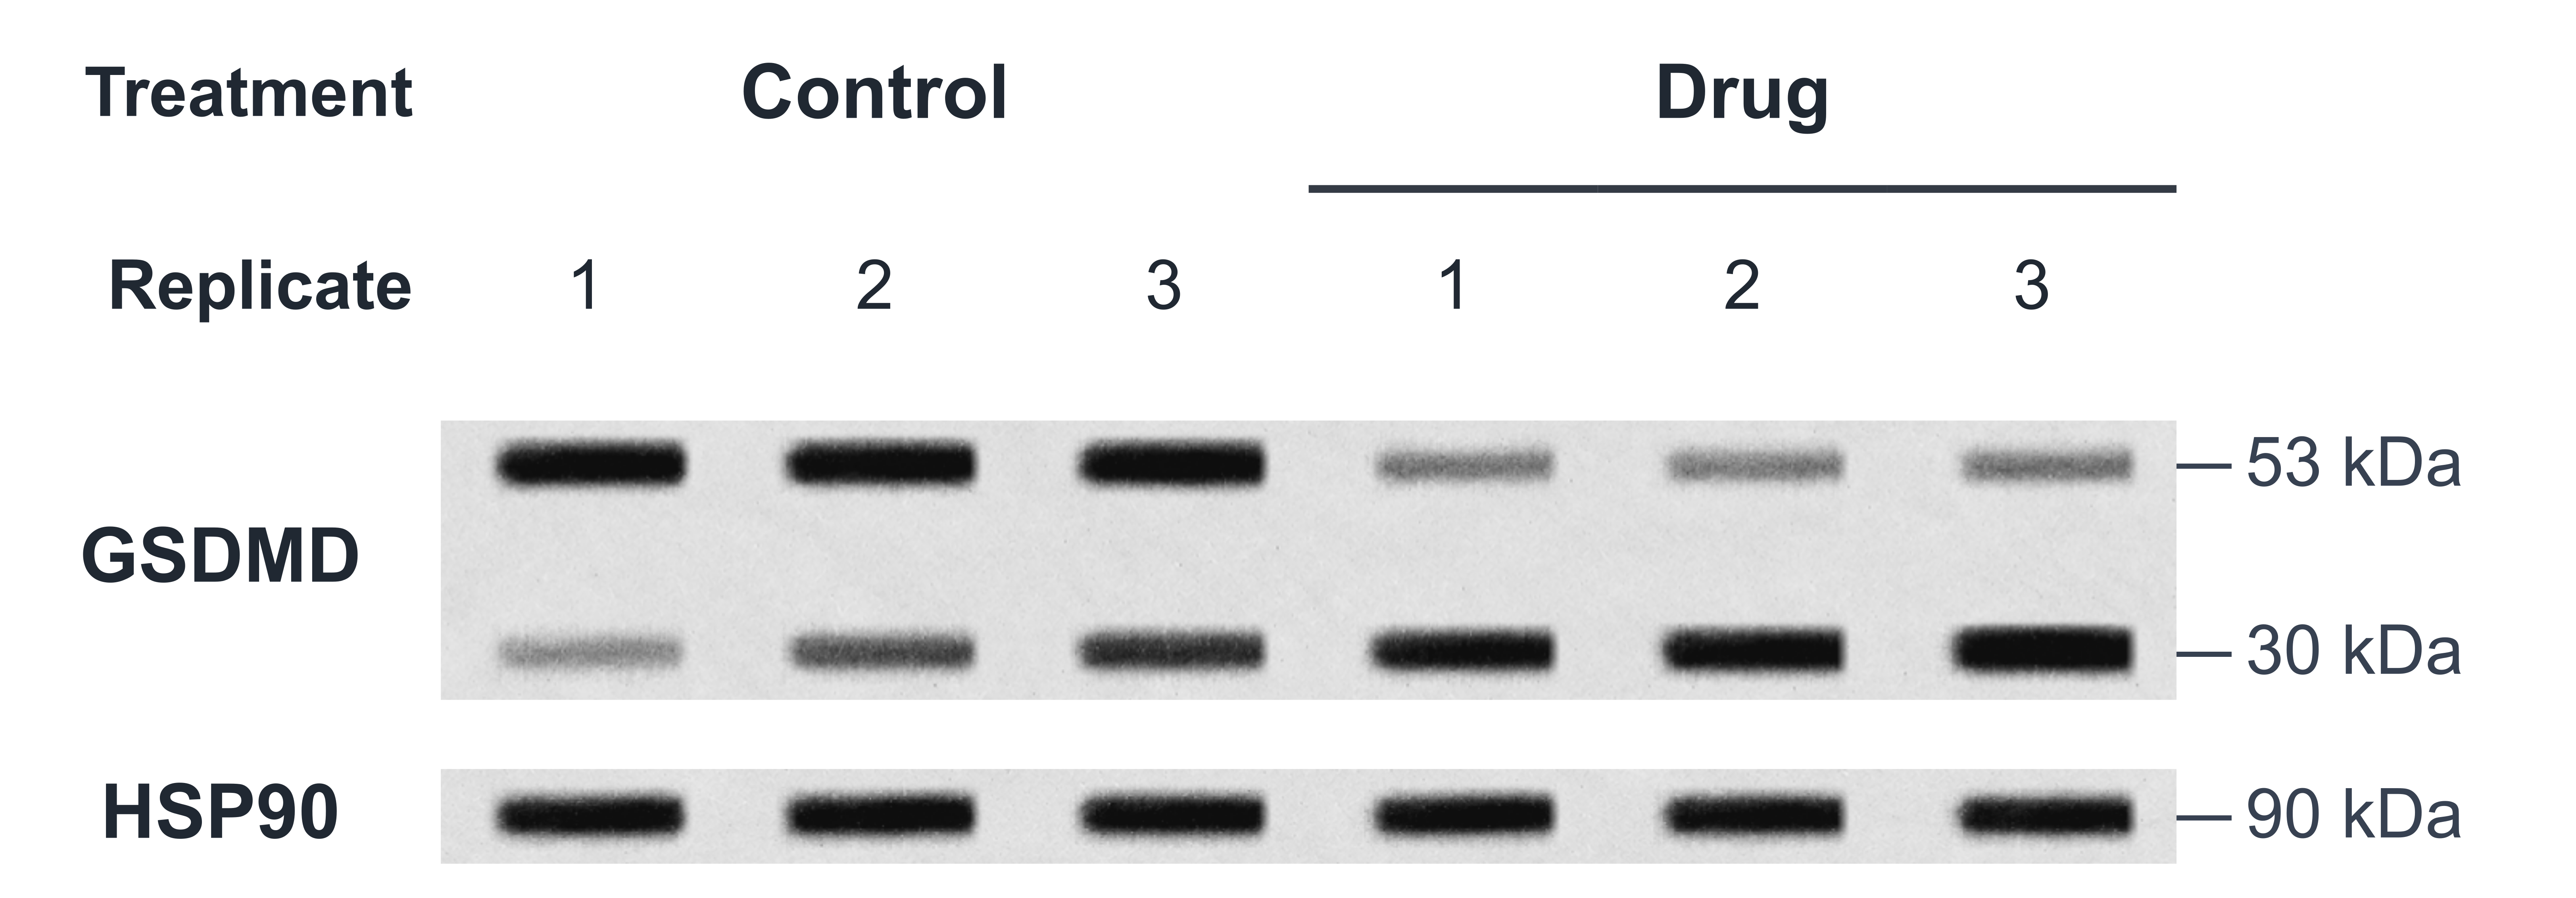
Updated illustrated steps
Actual screenshots from Windows build 2.1.3 using simulated examples. Select any image to view it at full size.
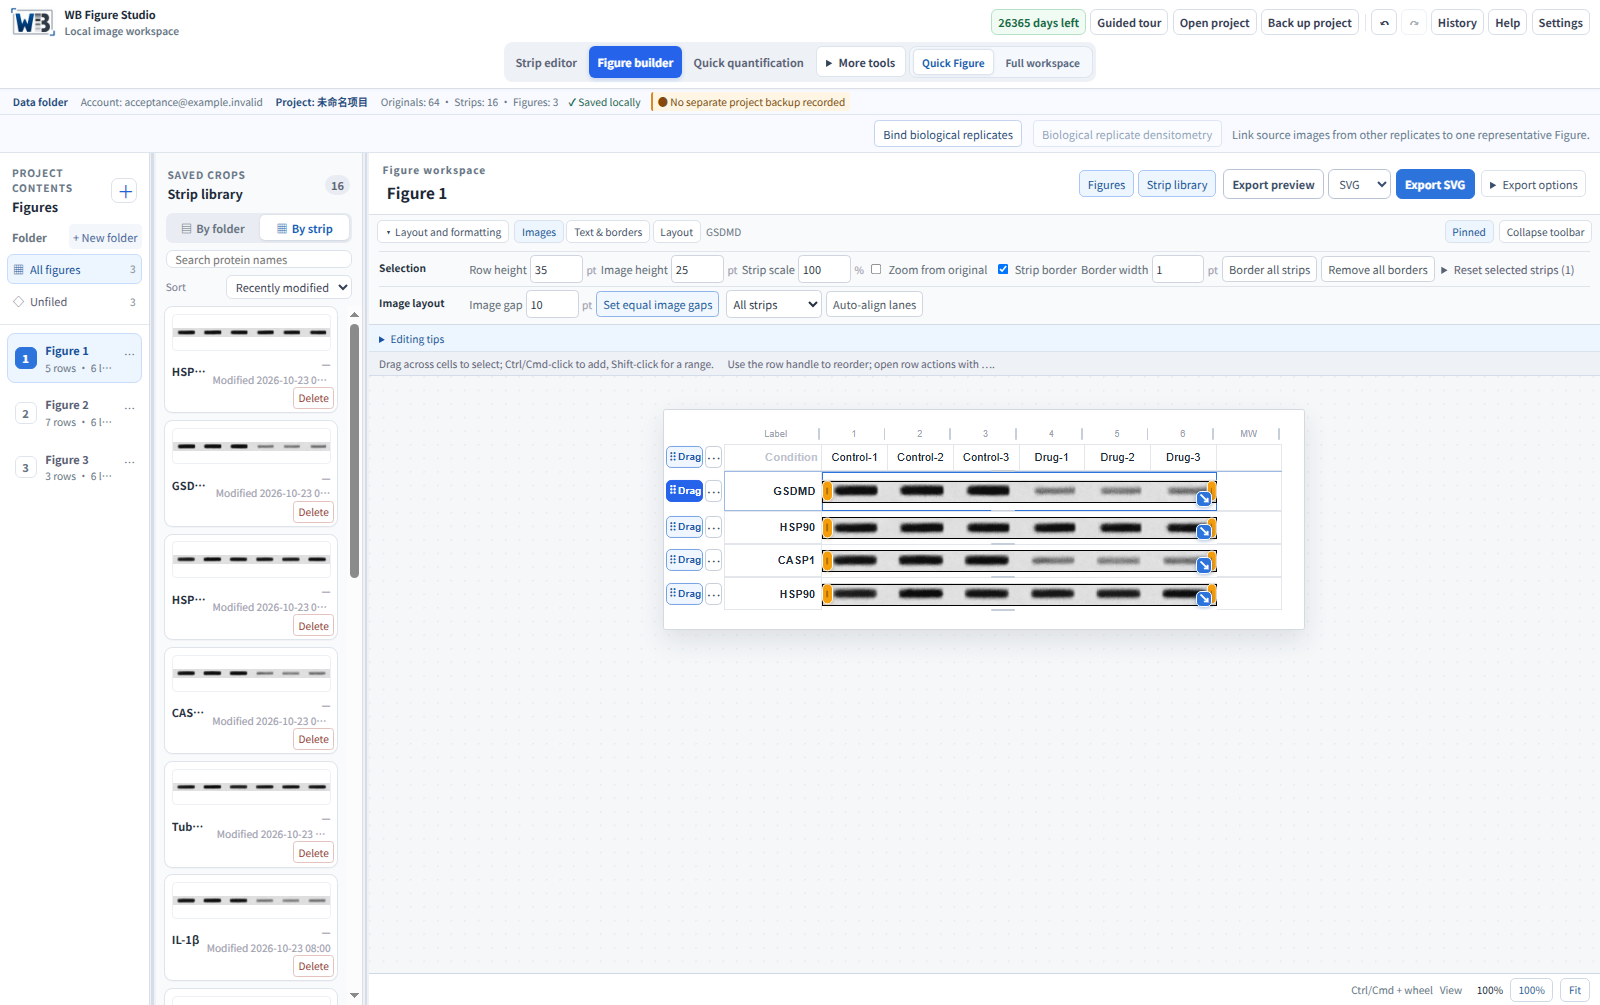
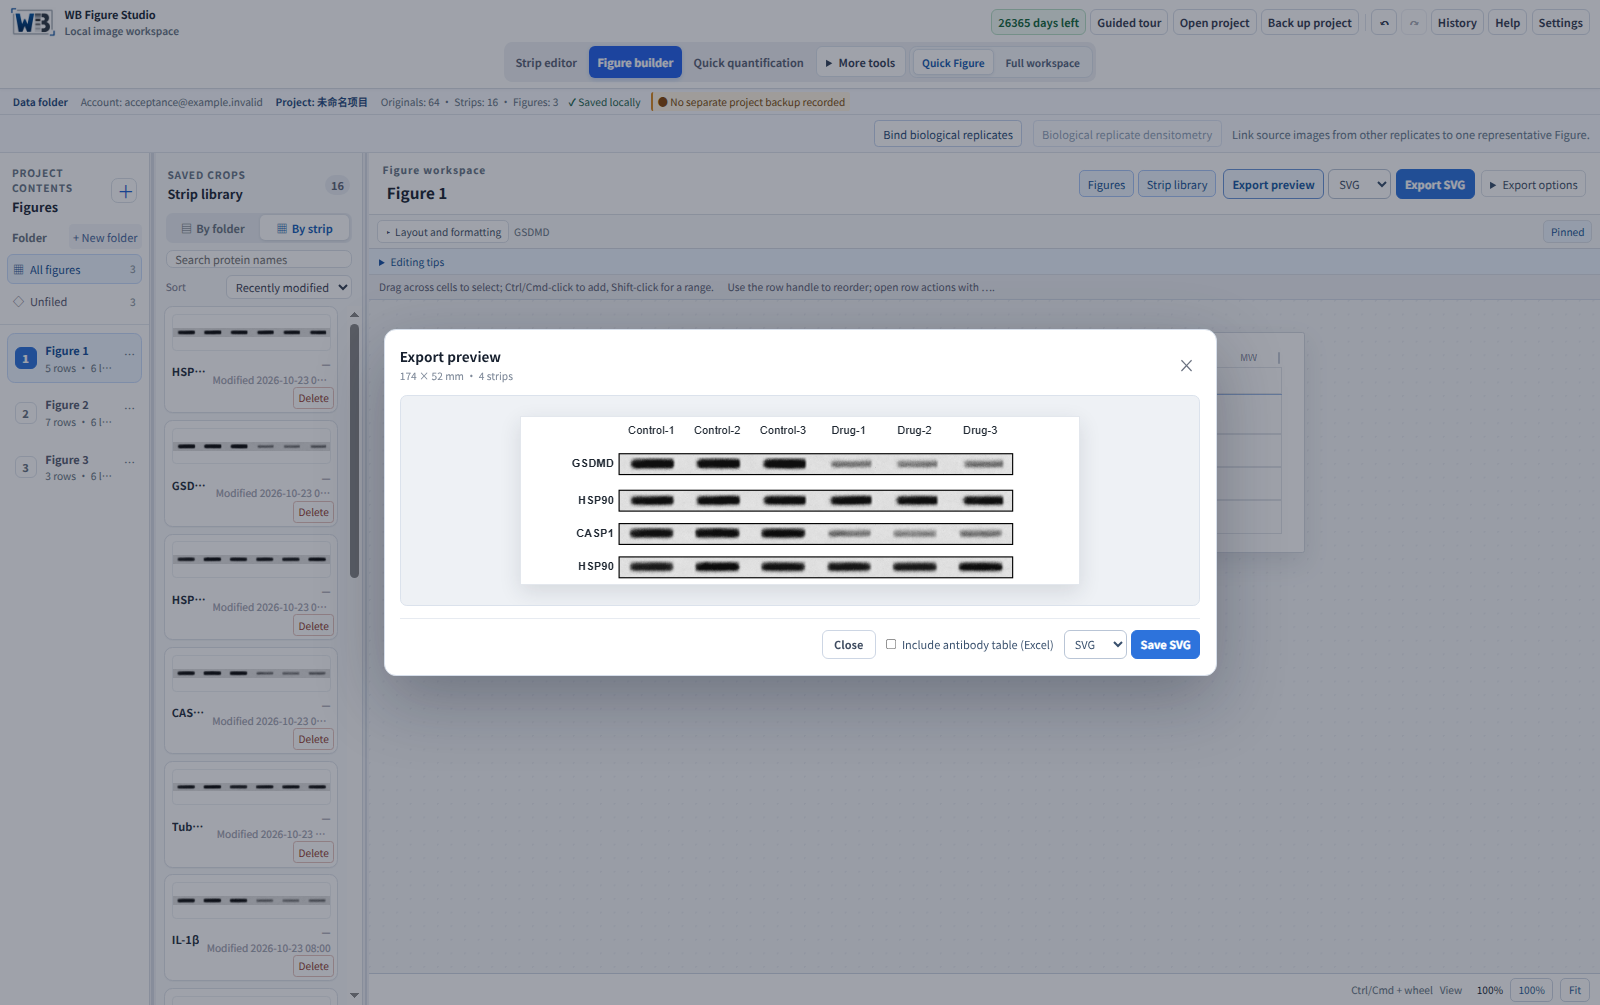
Align conditions, labels and groups
Add conditions quickly
Type sample names, doses and times, or paste multiple rows and columns from a table.
One treatment, several lanes
Add a bottom border to adjacent cells to mark lanes sharing the same stimulus or treatment.
Style labels for your layout
Adjust font size, bold, italics and alignment. Rotate long condition labels to save space.
Align strips and labels
Set image height, row height and image gaps separately, then adjust columns, text and borders to align targets, references and molecular weights.
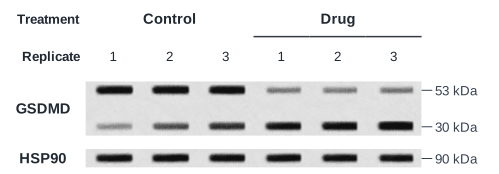
One set of strips. Several clear layouts.
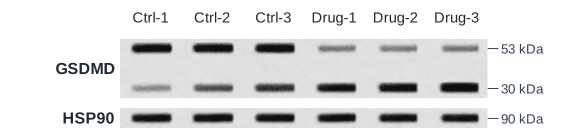
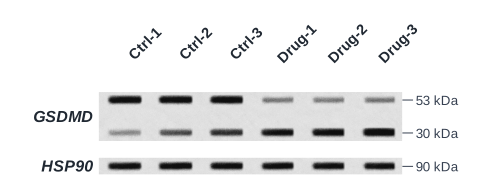
Label every sample
Name each lane and align protein and molecular-weight labels.
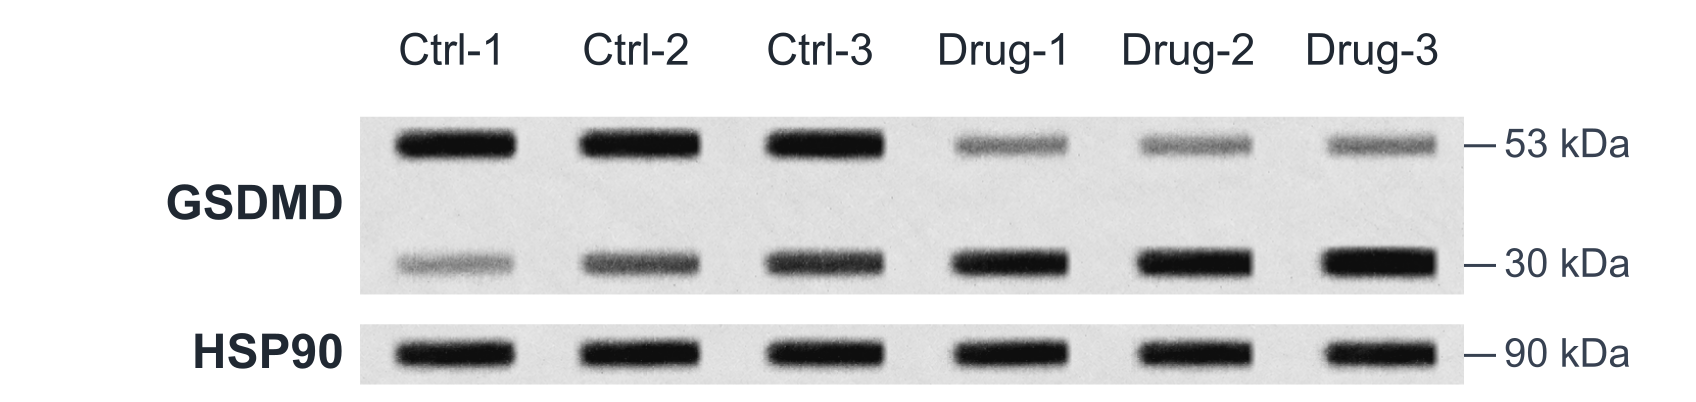 Download this layout as SVG ↗
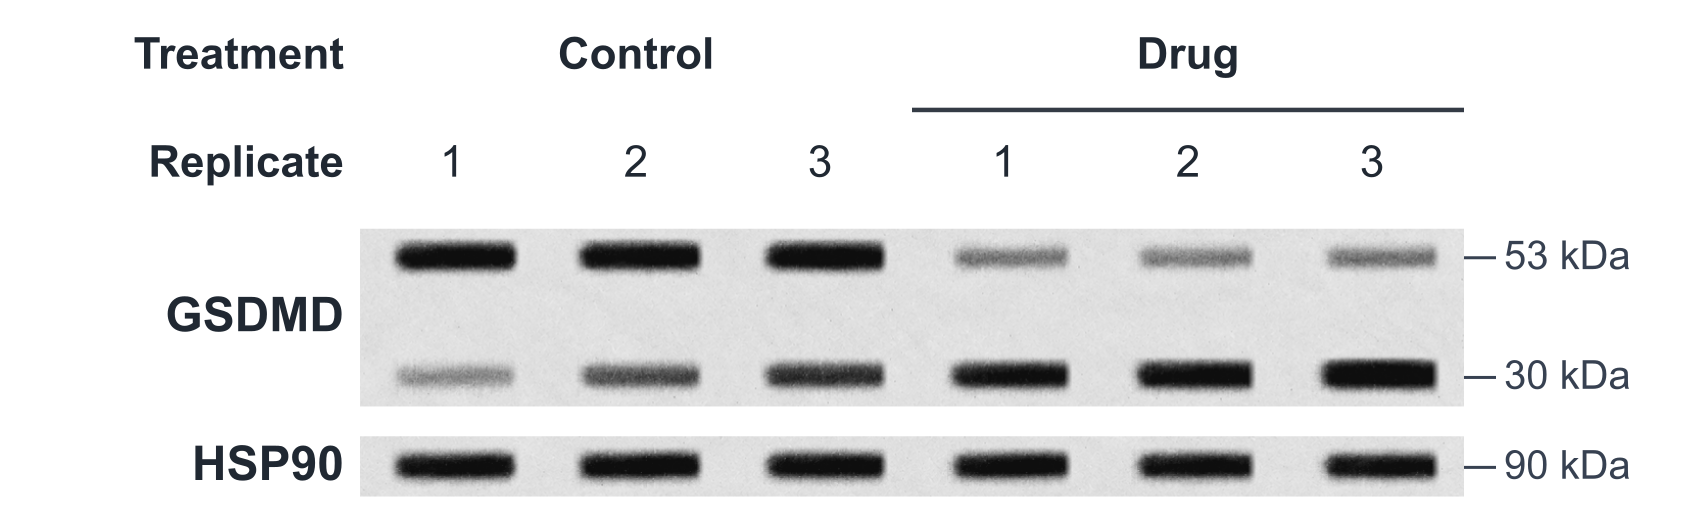
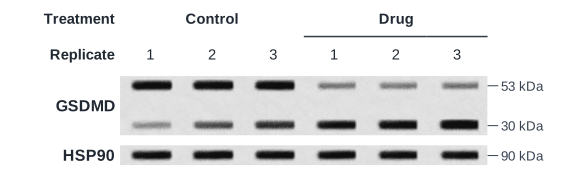
Underline a treatment group
Use a continuous underline to mark lanes sharing a treatment.
 Download this layout as SVG ↗
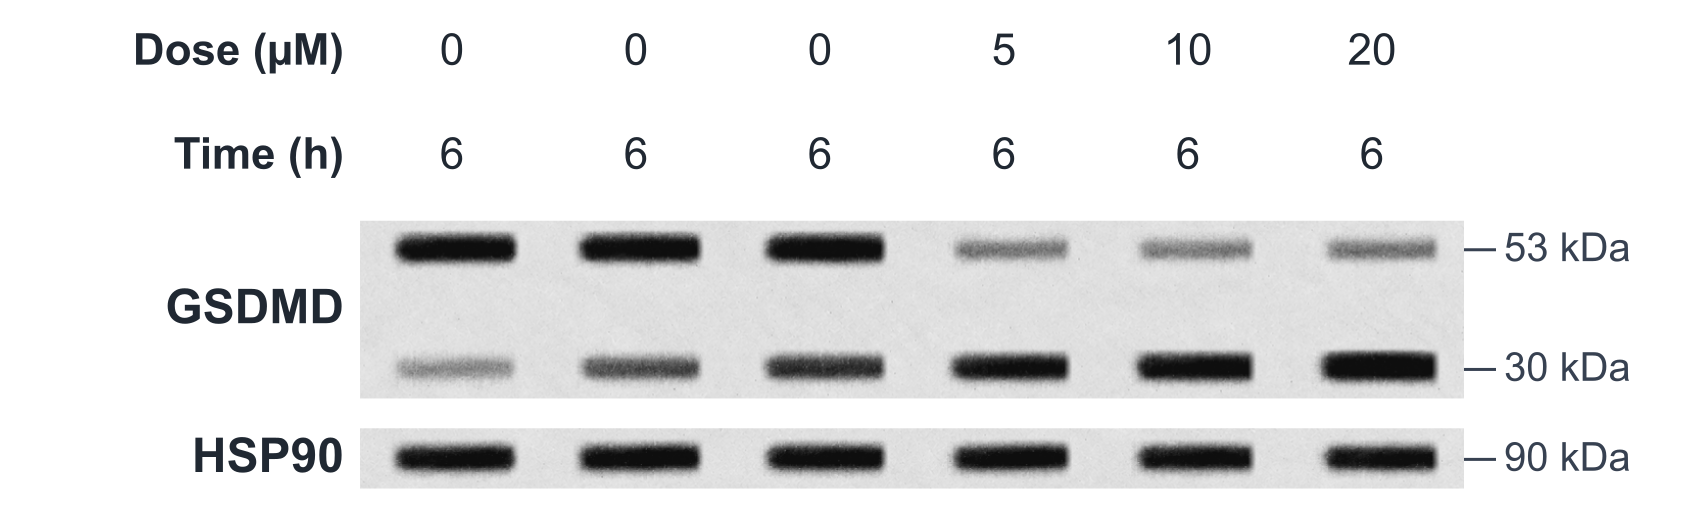
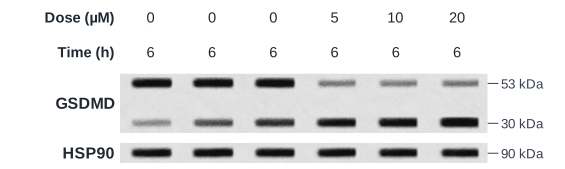
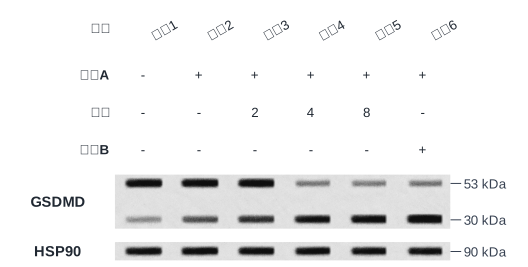
Arrange a dose-and-time matrix
Add rows for dose, time and other conditions above the strips.
 Download this layout as SVG ↗
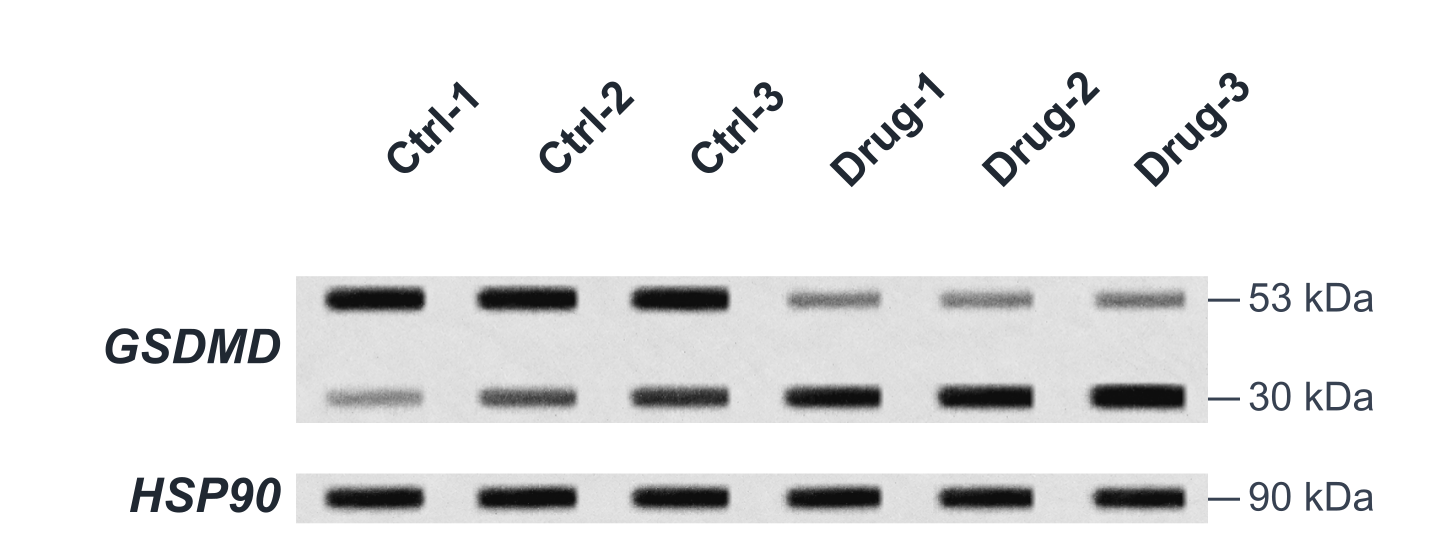
Rotate and style your labels
Rotate long labels and adjust font size, bold, italics and column widths.
 Download this layout as SVG ↗
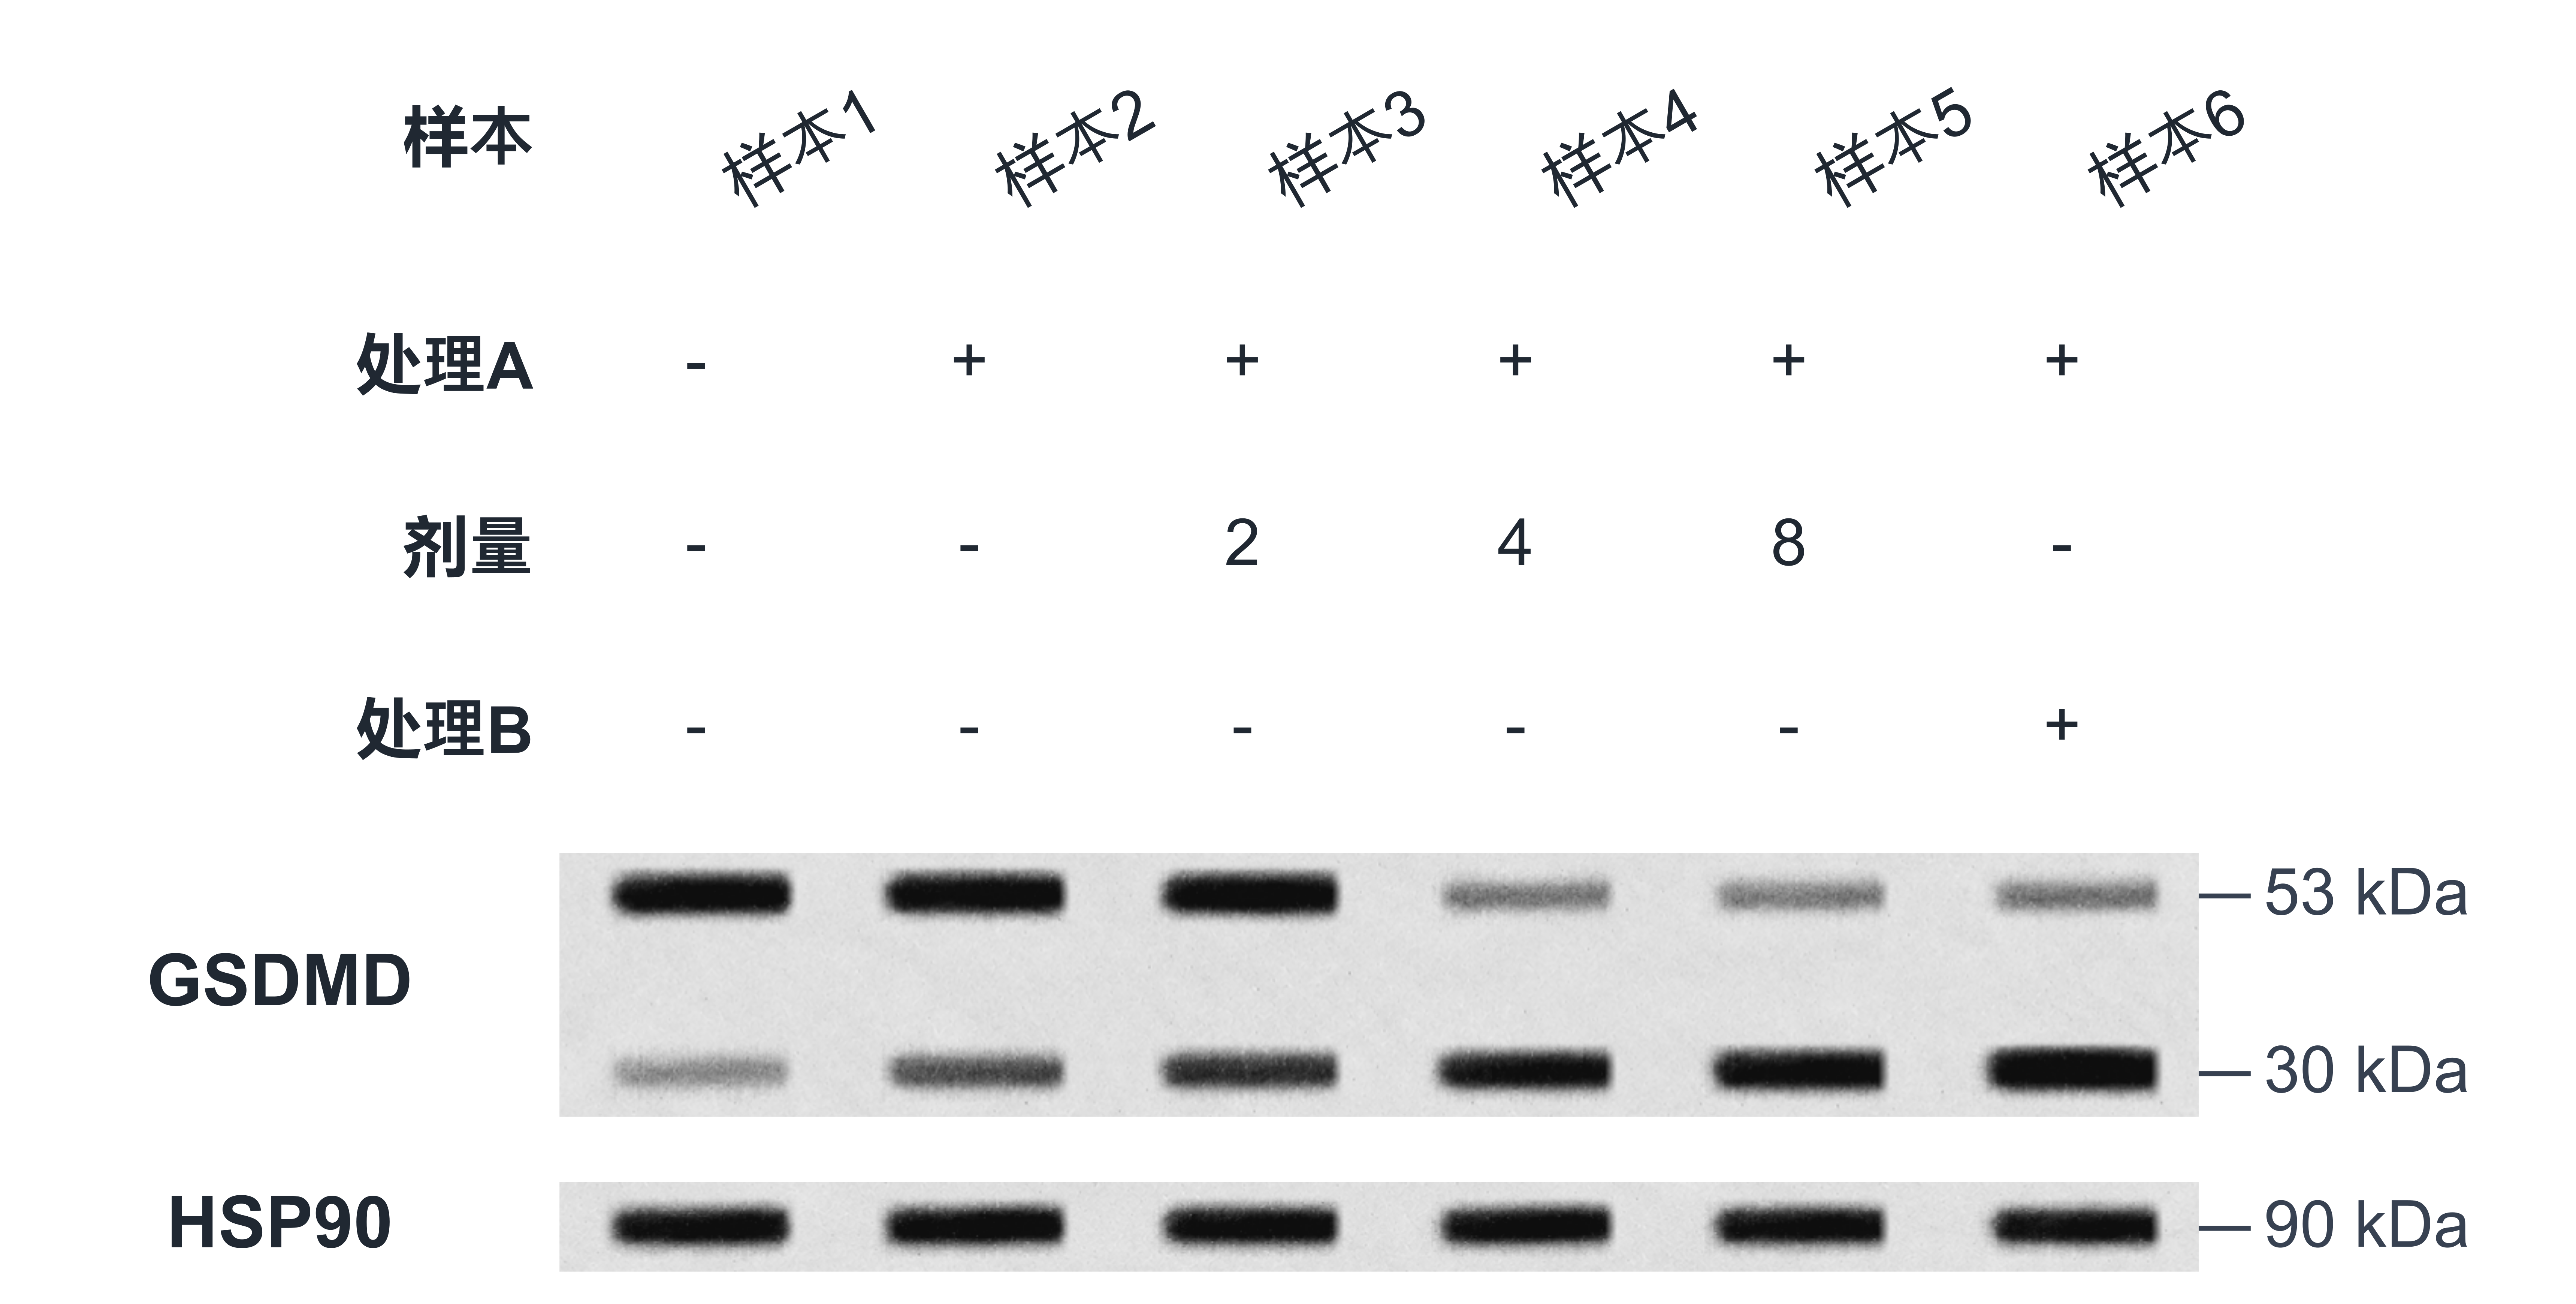
View the two source pieces from one membrane
One membrane, cut into two pieces
The six samples share one membrane. After cutting along the dashed line, upper piece 1-1 is used for HSP90 at 90 kDa and lower piece 1-2 for GSDMD at 53/30 kDa. Lane order remains the same in both pieces.
Each piece has its own companion set. Keep both sets in one folder, import them together, then review each set separately.
Get started with this feature
Import the complete originals
Import chemi, white-light, merged and membrane images. Review the companion set for each membrane.
Crop and save the bands
Select the band region on the chemi original and add its protein name and molecular weight. The example uses two pieces cut from the same membrane: upper piece 1-1 for HSP90 at 90 kDa and lower piece 1-2 for GSDMD at 53/30 kDa.
Arrange the six-lane figure
Set the six sample conditions, place target and control strips in their rows, and adjust row heights, column widths, labels and strip positions.
Review and export
Compare lane order, crop boundaries, molecular weights and labels with the originals. Choose the format and DPI for PNG, TIFF or JPG; SVG has no DPI setting. Open the saved file to inspect it.
Frequently asked questions
How can I keep crops the same size?
Select a strip, enter width and height in Crop size, then apply. Enable Lock crop size to reuse the dimensions for the next crop, or choose Reuse previous size. Dimensions use source-image pixels.
Can each strip have a black frame?
In Figure Layout and formatting, enable Strip black frame for selected content and set its line width, or frame all strips in one action. The frame follows each visible strip image and is included in figure export. Originals and intensity measurements stay unchanged.
Does cropping change the original image?
The app stores source coordinates and annotations for a strip. Figure export samples the original image again, and the complete original remains in the local image library.
Which figure format should I choose?
Use PNG for documents and slides, SVG for adjusting text and borders in a compatible editor, TIFF for lossless raster delivery, and JPG for previews. Check your journal’s dimensions, resolution and layout requirements.
Can one original appear in more than one figure?
Yes. Source-image reuse review shows the crops used in different figures. Check the actual samples and experimental conditions and describe the reuse accurately in the manuscript.
How do I keep the source data with the figure?
Open Source data, review the complete target and control originals, and export PDF/PPTX records by figure. Use Back up project separately to save a .wbfig package for continued editing.